Before you begin — what tape-in actually is
Tape-in is a method where ready-made strands of human hair, or high-quality premium synthetic hair, are set on thin adhesive tapes. Each strand creates a “sandwich” around a fine section of your natural hair — one strand underneath and one above. This creates a discreet bond close to the roots. The result: your hair looks as though it is simply thicker and longer, with no visible application marks when it falls naturally.
An important distinction: tape-in is not a permanent method. The strands are worn for several weeks, then you return for refitting. Your hairdresser removes them, cleans them and reapplies them, or replaces them with new ones. This cycle makes the method flexible. You can add strands for more density or choose refitting when your own hair needs a break.
Are you a good candidate?
Not every hair type or life situation is suitable for tape-in. Before booking an appointment, it is worth asking yourself a few honest questions. A good hairdresser will ask them during consultation anyway, so it is better to arrive prepared.
A good time for tape-in
Your hair and lifestyle are suitable
- Healthy hair or hair in good condition, without excessive breakage
- No active heavy hair shedding
- Natural hair colour or coloured hair with a stable tone
- You value discretion — not only length
- You can attend refitting appointments every few weeks
It is worth speaking to us first
These situations require consultation
- Intensively lightened or regularly coloured hair with a delicate structure
- A very fine, delicate hairline at the temples
- Active sports with frequent heavy sweating
- A tendency towards scalp irritation
- Very short hair — the strand needs a base to attach to
The full process — step by step
Below is the complete tape-in journey — from your first contact with the salon to regular refitting appointments. Each stage is slightly different. Together, they create a cycle that is almost maintenance-free with a good plan.
- 01
Consultation — the foundation of the whole process
This is not a formality — it is the most important step. Your hairdresser assesses your hair: its thickness, condition, colour and amount. You discuss your goal: length, density or both. Together, you choose the number of strands, colour, length and application method. A good consultation helps avoid disappointment. It also ensures the result looks natural rather than “stuck on”.
- 02
Preparing your hair at home (the day before)
Before application, wash your hair with a silicone-free shampoo. Do not apply conditioner, masks or oils to the lengths and ends. Oils and silicones weaken the tape’s adhesion. Your hair should be clean, dry and free from all styling products. This is one of the most underestimated steps. It has a real effect on durability.
- 03
Application — what it looks like in the chair
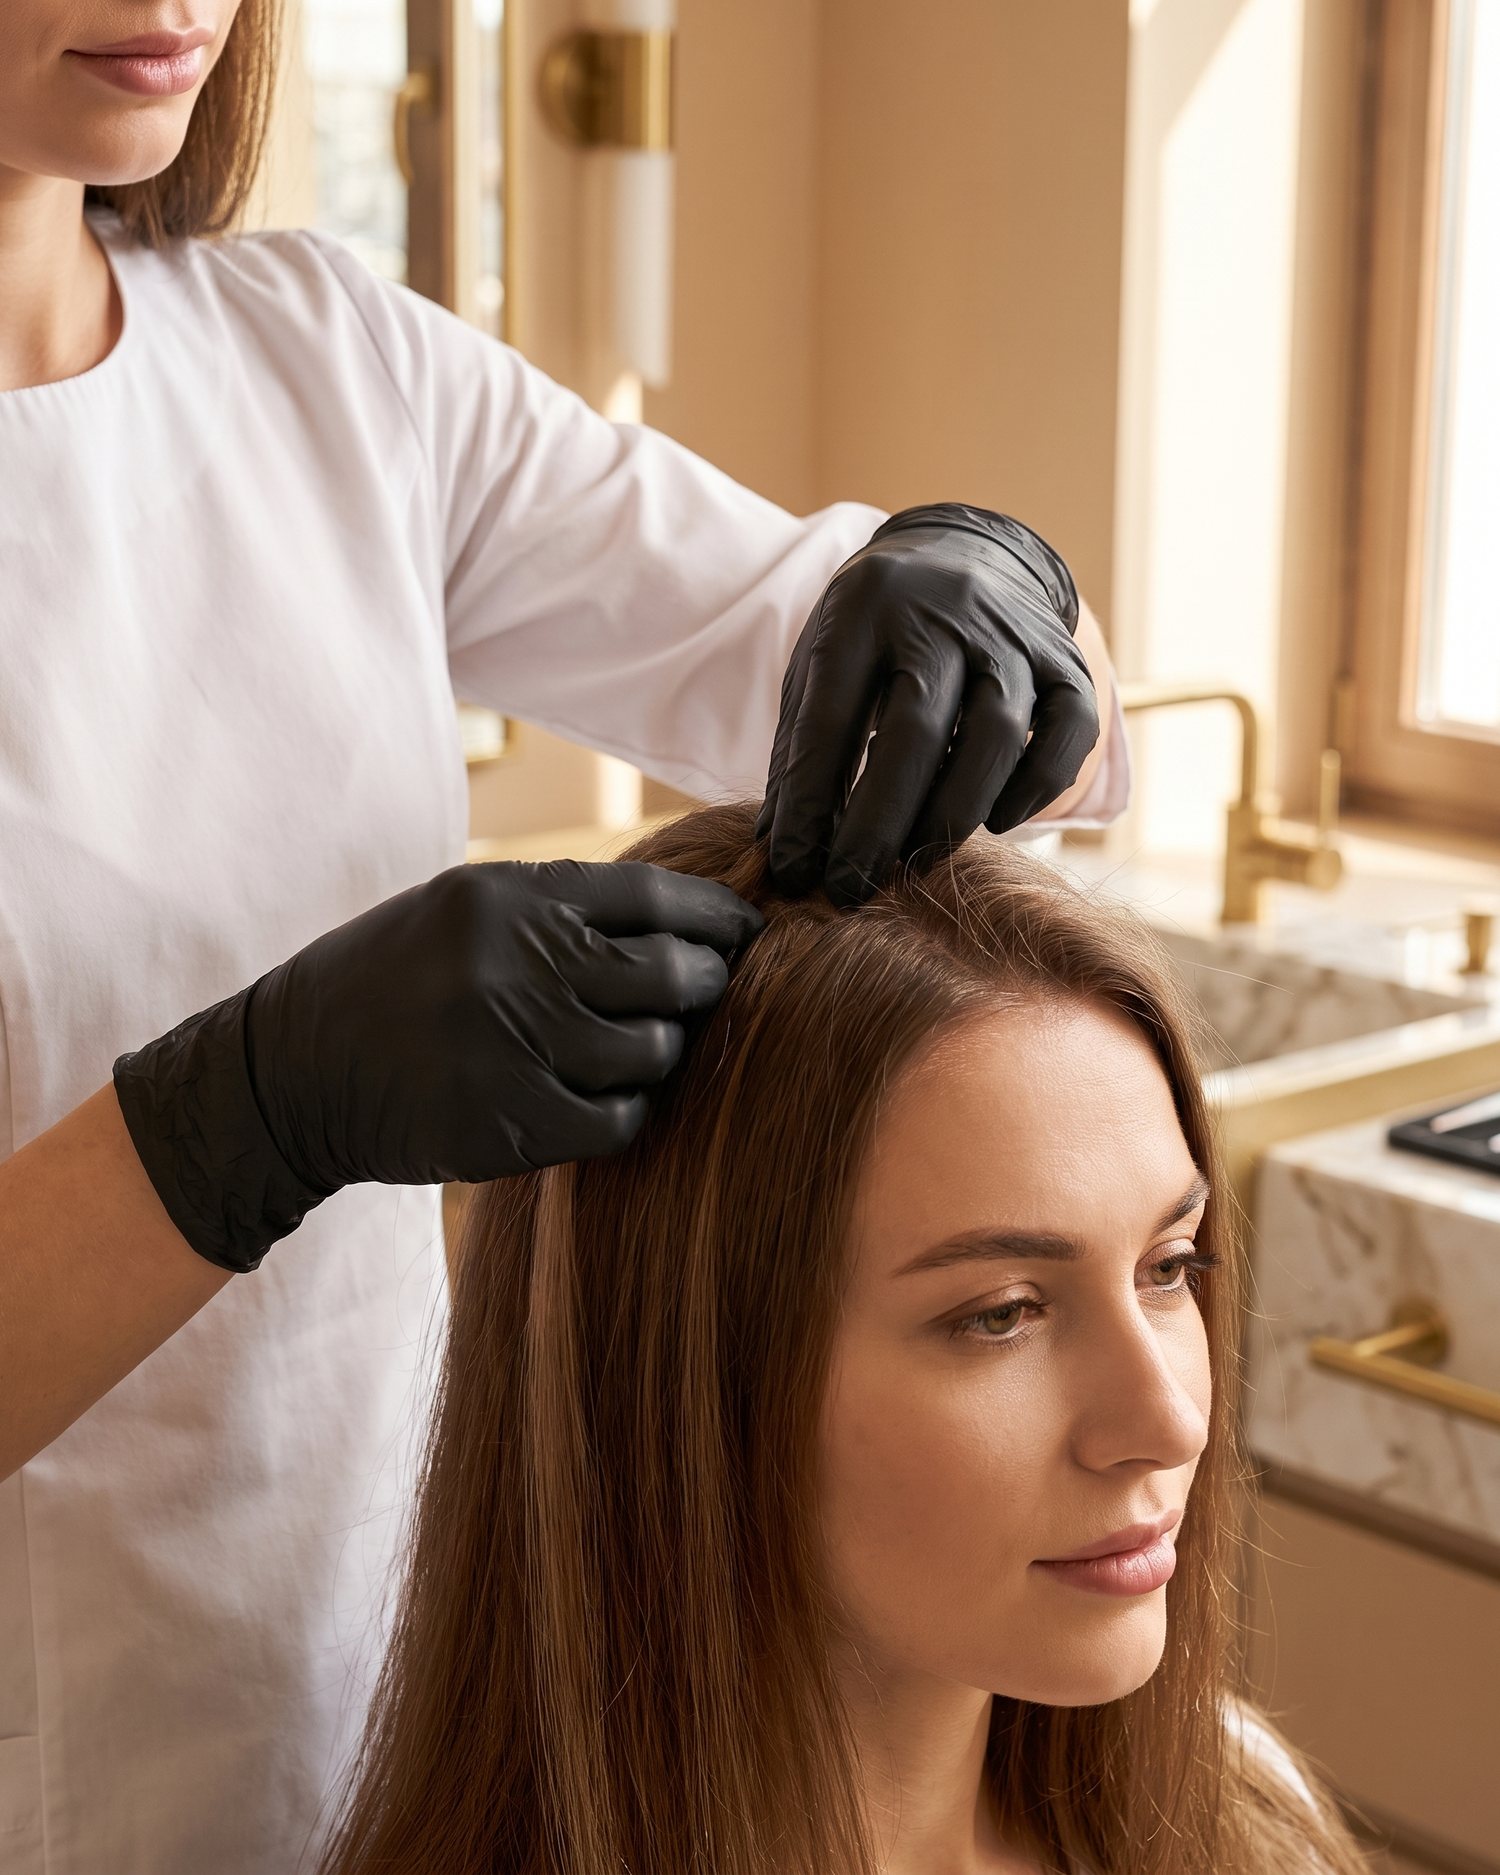
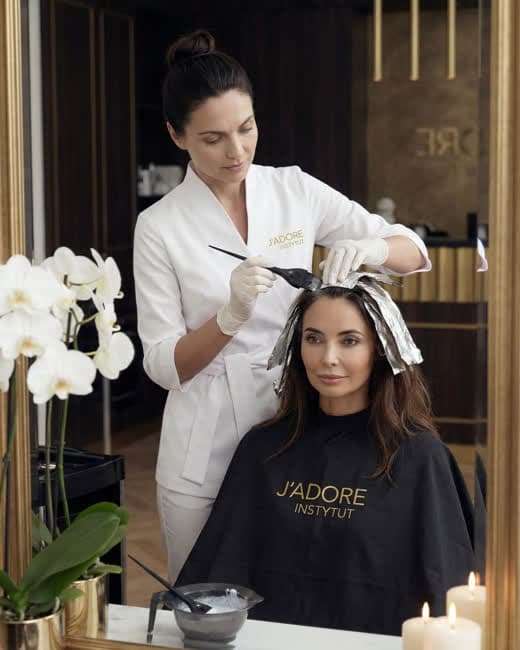
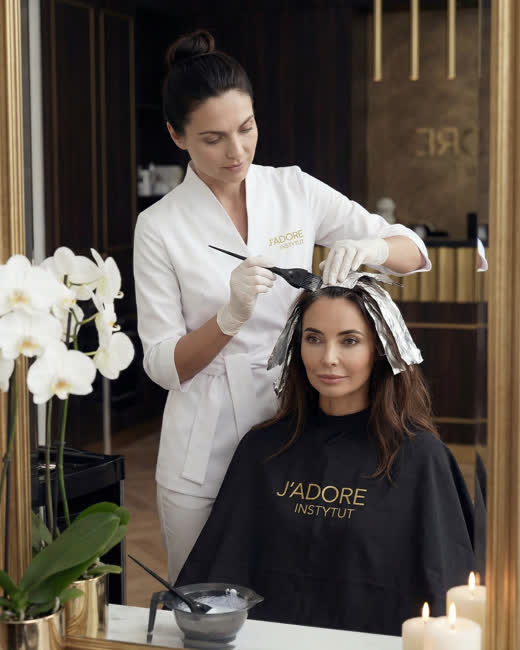
Your hairdresser separates fine sections of your natural hair and places a layer between each pair of tapes. One strand underneath, a section of natural hair, one strand above — a gentle press and it is ready. The process is methodical and, with an experienced hairdresser, almost silent. You may feel slight tension at the roots, but it should not hurt. After application, your hair may need light trimming at the ends for a cohesive result.
- 04
The first hours — what you can and cannot do
For the first 24–48 hours after application, avoid washing your hair, intense sweating and any heat treatments directly at the roots. The tape needs time to bond more firmly with your natural hair. This is a key period. Later durability often depends on these first hours.
- 05
Everyday aftercare
Use silicone-free shampoos and conditioners. Avoid oils at the roots. Apply conditioner only to the mid-lengths and ends. Dry your hair using warm, not hot, air — heat around the tapes can weaken them. Braid or tie your hair before sleeping to prevent tangling. Always brush from the ends towards the roots. Hold the strands near the attachment point with one hand.
- 06
Refitting — your return to the salon
Tape-in strands require refitting as your natural hair grows — usually after a few weeks, depending on your growth rate and your hairdresser’s individual recommendations. Your hairdresser gently removes the strands with a special solution, cleans them and then moves them closer to the roots. Well-maintained strands can last through many cycles. This is why home aftercare is genuinely worthwhile.
Aftercare following application — a detailed guide
Tape-in changes your haircare routine slightly. However, it is not enough to become inconvenient. It involves a few rules that quickly become a habit. Here are the most important ones.
- Silicone-free and sulphate-free shampoo — apply it to the scalp and do not rub it aggressively into the strands. Rinse thoroughly, as residue can weaken the tape.
- Conditioner and masks only on the mid-lengths and ends — near the taped roots, haircare products soften the adhesive. Apply them from approximately halfway down the length.
- Drying: always warm, never hot — the temperature should feel comfortable on a hand placed against your head. Hairdryers on the highest setting may cause the tapes to lift.
- Brushing: from the bottom upwards, using your fingers or a wide brush — a paddle brush or a brush with soft bristles works best. Hold the strands at the roots to avoid pulling on the tape.
- Sleep with a braid or loose ponytail — night-time is when hair tangles most. A soft hair tie or silk scarf protects the strands and extends their durability.
- Swimming pools and the sea — yes, but… — chlorine and salt weaken the tape and may speed up colour fading. Before getting into the water, wet your hair with fresh water (saturation reduces absorption). Rinse thoroughly and dry after swimming.
What to really expect — honest observations
Tape-in has many enthusiasts — but it is worth knowing what is true and what is partly an expectation. Here are a few things that can surprise first-time clients.
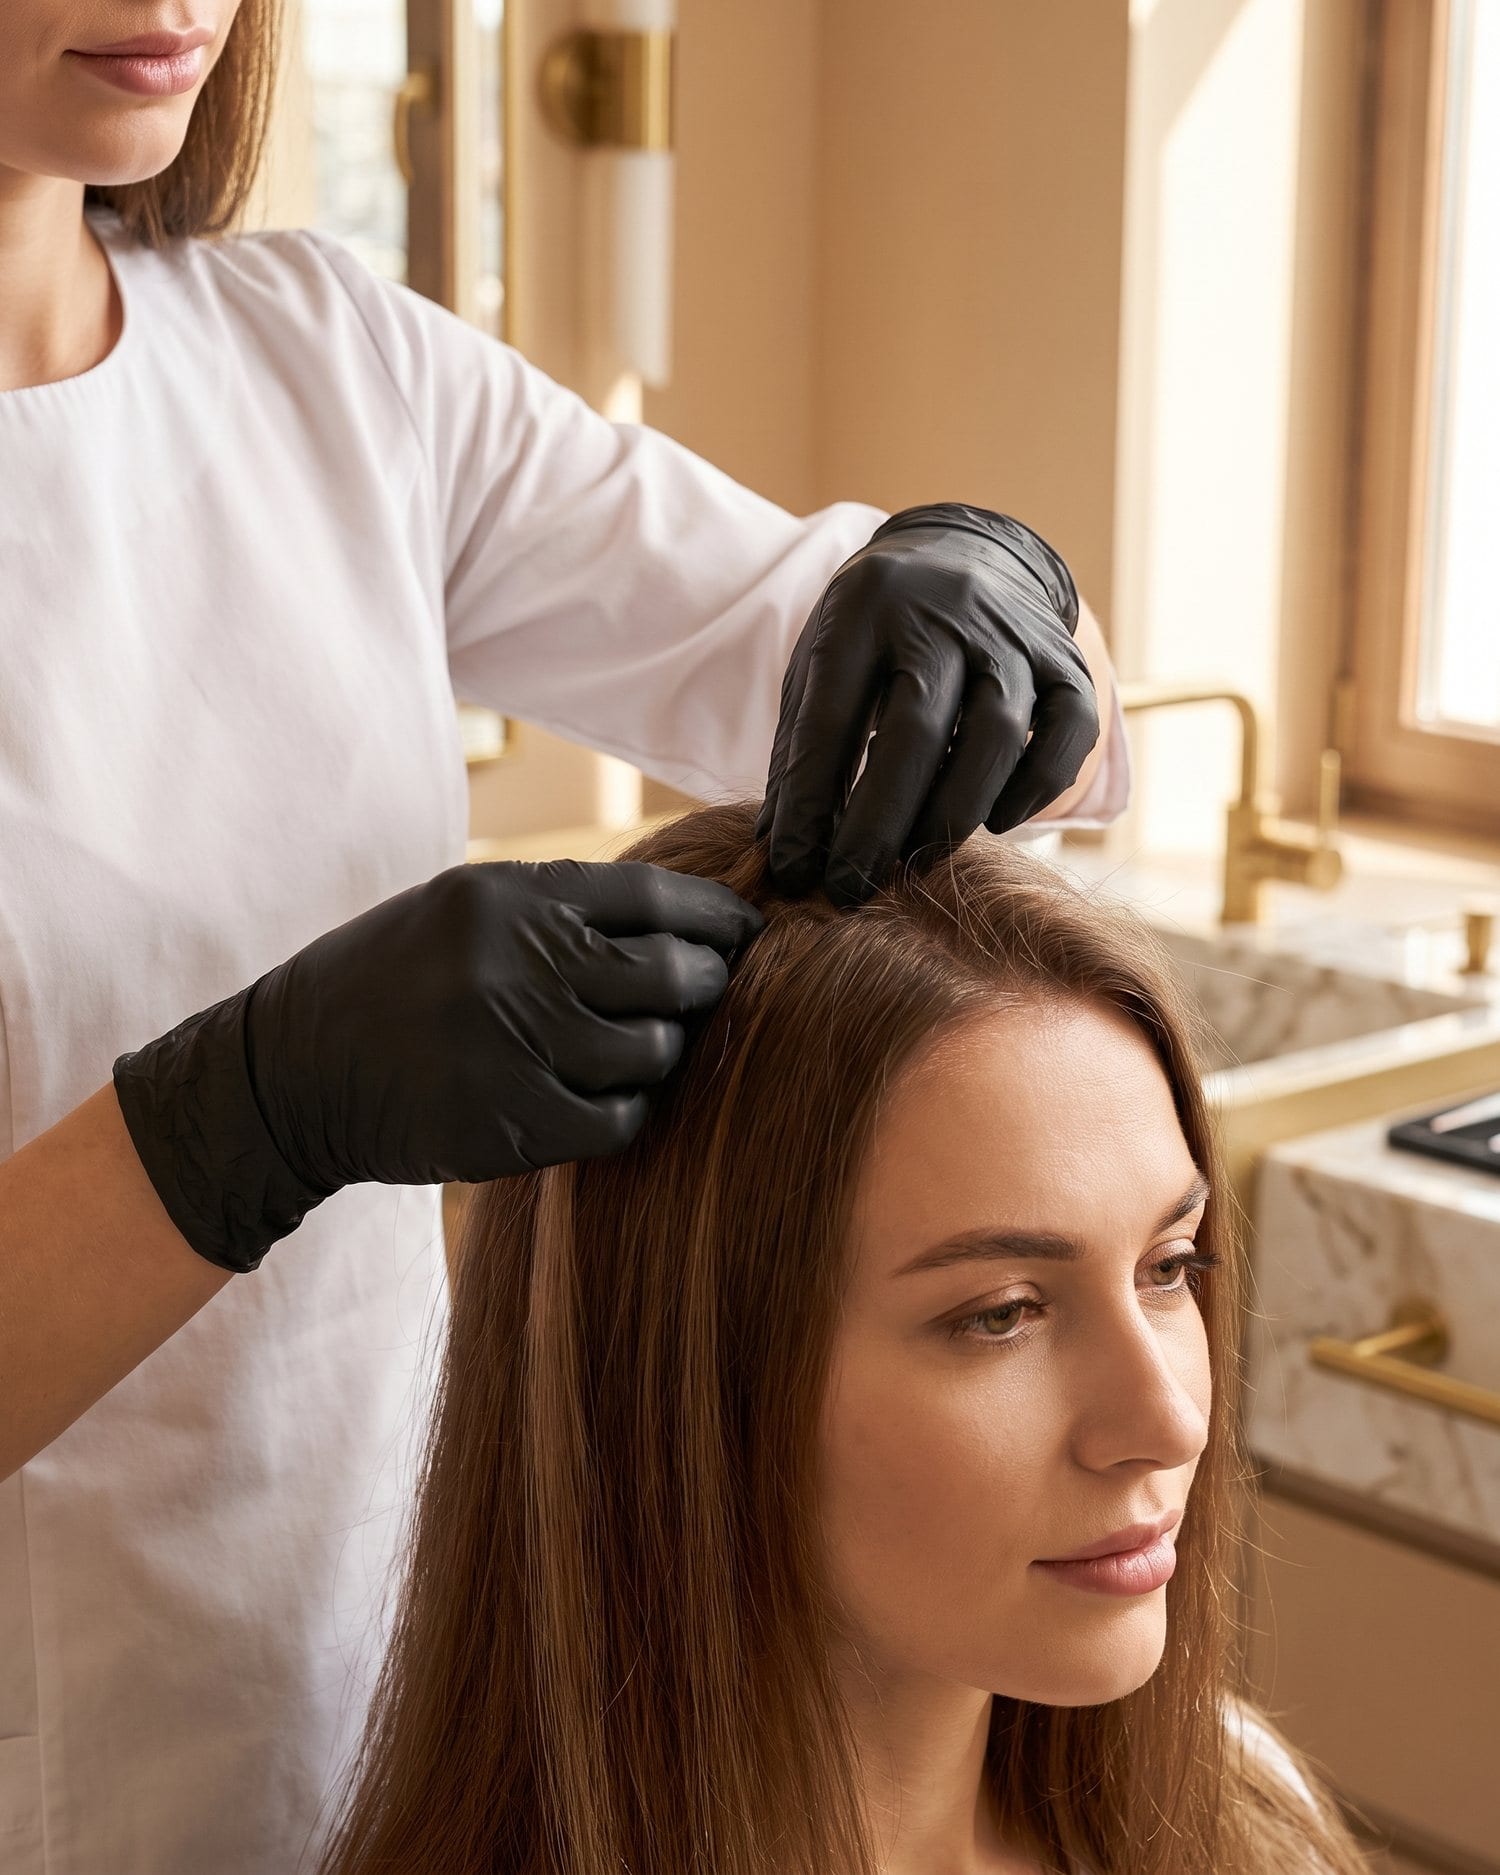
- The first few days may feel unusual — your scalp needs time to adjust to the new weight and tension at the roots. This usually passes after 2–4 days. If the pain is severe and does not pass, tell your hairdresser. It may indicate that an extension is too large or incorrectly positioned.
- Extensions may be visible with certain hairstyles — a high ponytail or a very sleek bun can reveal the tapes. Your hairdresser will advise you on styling your hair so the extensions remain hidden. This is not a flaw — it is a feature of the method that can be managed elegantly.
- The first hair wash can feel awkward — you step into the shower with a new set of rules. At first, it may feel as though you are washing something very delicate. After a few washes, it becomes automatic.
- The colour may need minor adjustment — if your hair is coloured in an uneven tone, matching the extension colour can be challenging. The result is usually very good, but it is worth discussing this honestly with your hairdresser during the first session.
- How long your extensions last depends on you — clients who care for their extensions carefully and return regularly for move-ups can use the set for many cycles. Those who skip the aftercare rules often need replacement sooner.
When to return for a move-up — and what happens then
A tape-in move-up is not a “repair for something that has gone wrong” — it is a planned stage of the whole process. Your hair grows, and the extensions move gradually lower with it. At the right time, your hairdresser moves them back towards the roots — and the cycle begins again.
- Your hairdresser applies a specialist move-up solution to the tapes — it dissolves the adhesive and allows the extension to be safely separated from your natural hair.
- Each extension is cleaned of old tape and adhesive residue — the precision of this step determines how long the next application will last.
- Your hairdresser assesses the condition of the extension: whether it is in good condition, whether the colour still matches, and whether it needs replacing.
- The extensions are applied again, closer to the roots, with new adhesive tape. The result is like a new application.
- You can also add or remove extensions, change the length or adjust the colour — a move-up is a good time for changes.
A regular move-up schedule is important not only for the visual result — it also provides protection for your natural hair. An extension worn for too long with significant regrowth changes the distribution of tension. It may weaken the hair near the tape. On the other hand, removing extensions too early creates unnecessary costs. During your first appointment, your hairdresser will suggest the optimal schedule for your hair.
Keratin straightening
A smoothing treatment performed between move-ups helps maintain a consistent texture between the extensions and your natural hair — especially when the extensions are naturally smoother than your own hair. Plan it with your hairdresser, as it requires a specific order of steps.
Deep nourishing care
Protein masks or oil applied to the extension ends, away from the roots, can greatly extend their lifespan and preserve shine. Silicone-free products applied to the mid-lengths and ends make an ideal weekly ritual.
Colouring extensions during a move-up
If you want to refresh the colour or change the shade of your extensions, a move-up is the best time. Your hairdresser can plan the colouring between removal and reapplication — minimising the time without extensions and ensuring clean, even coverage.