What PMU pigment is in the skin — and why it doesn't behave like a tattoo
Permanent makeup (PMU) is a technique for depositing pigment into the upper layers of the dermis — shallower than a classic tattoo, but deep enough for the result to last for years. The word "permanent" is a little misleading here: PMU is designed to fade gradually from the start. Pigments used in PMU are often chemically different from tattoo pigments — they have smaller particles, different dispersion, and react faster to laser light.
Problems arise when that fading doesn't go to plan. Instead of gently disappearing, the pigment can change tone (a classic example is brows that turn from dark brown to reddish or grey-green), blur and lose precision along the contour lines, or stay intense for many years, leaving no way to cover it with a new pigment without a visible colour clash. This last scenario — old colour showing through new pigment — is the most common reason clients book a laser consultation.
It's also worth knowing that PMU isn't a uniform mass of pigment sitting at one consistent depth. Pigment settles unevenly — some particles lie shallower, some deeper. Over the years, this distribution shifts: part of the pigment is gradually "absorbed" by macrophages (cells of the immune system), and part migrates slightly in different directions. Every PMU case is different — which means there's no single, predictable response to laser.
How laser removes PMU — photomechanics layer by layer
Laser works on the principle of selective photothermolysis: it emits light pulses at specific wavelengths that are absorbed by the pigment (the target), not by the surrounding tissue. The energy from the absorbed pulse heats the pigment particle rapidly and breaks it apart mechanically — into fragments small enough for the immune system to gradually clear through the lymphatic network. The skin isn't "burning" during this process — it's a precise, selective mechanism, not thermal destruction.
- 01
The pulse hits the pigment
Laser light is absorbed by the pigment particles. The darker and more contrasted the pigment, the more intense the absorption.
- 02
The particle breaks apart photomechanically
The pulse's energy causes the particle to expand rapidly and shatter into micro-fragments. This effect — called "photoacoustic" — is central to Q-switched and picosecond lasers.
- 03
Macrophages absorb the fragments
Immune system cells recognise the micro-fragments as foreign bodies and gradually clear them through the lymphatic network. This stage takes weeks — hence the gaps between sessions.
- 04
The pigment gradually fades
Session by session, there's less pigment left. The rate of fading depends on depth, pigment colour and how efficiently each person's immune system works.
What matters for PMU specifically is that cosmetic pigments often react differently from tattoo pigments. Some contain ingredients that can darken rather than lighten under laser exposure — this is particularly true of pigments containing titanium dioxide and certain forms of iron oxide. That's exactly why a patch test — a small trial session on a low-visibility area — is almost always carried out before working on the full area.
Lightening and full removal aren't the same thing
This distinction is crucial — and often underestimated when planning treatment. Full PMU removal and lightening PMU for a new design are two different goals, two different protocols and two different timelines. Confusing them at the consultation stage leads to frustration: too aggressive an approach when preparing for a new design can damage the skin and prevent precise application of new pigment; too cautious an approach when full removal is the goal drags the whole process out unnecessarily.
Lightening for a new design
when you want to change the shape, colour or technique
- Goal: weaken the old pigment enough that it won't clash with the new one
- Number of sessions: usually fewer than for full removal
- Required break before new PMU (minimum 6–8 weeks after the last laser session)
- Shape and colour correction possible — the new design goes onto a "cleared canvas"
- The skin must be fully healed before the next pigment application
Full PMU removal
when you're not planning a new design, or you want complete clarity
- Goal: maximum pigment reduction — back to your natural skin appearance
- More sessions, longer intervals (the whole process can take many months)
- Each session reveals progressively deeper pigment fractions
- The result is rarely "zero pigment" — reduction of 80–95% is typical
- A good choice when old PMU is uneven, has changed colour significantly, or followed a failed correction
In practice, lightening for a new design is the more commonly chosen path — and often more cost- and time-effective. Rather than aiming to eliminate the pigment completely (which can take many sessions), the goal is a state where the old pigment is weak enough for a new application to cover it, or for a new design to be built over it without a visible clash. It's a subtle but important shift in perspective: you're not fighting the old PMU, you're preparing a "background" for it.
What makes one PMU respond better than another
Not every PMU responds to laser in the same way — worth knowing before expectations are set too high or too low. Several factors have a real effect on the pace and outcome of the process.
- Pigment chemistry. PMU can contain organic pigments, iron oxides, titanium dioxide, or mixtures of these. Each responds slightly differently to specific laser wavelengths. Organic pigments usually respond quickly; metal oxides can be more resistant and may need testing across several protocols.
- Implantation depth. The deeper the pigment sits, the more energy is needed to reach it — and the more sessions are required. PMU implanted more shallowly (for example, ombre brow technique) often responds faster than PMU from fill-in techniques, which sit slightly deeper.
- Age of the PMU. Fresher pigment is usually more intense but also responds vigorously to laser. Old, faded PMU may already be partly reduced naturally — but its chemical breakdown is often less predictable.
- Colour. Dark, cool tones (blacks, greys, cool browns) respond faster — they absorb more laser energy. Warm, reddish or mixed pigments can be harder to lighten in a controlled way.
- Layer on layer. Many clients have PMU applied multiple times — corrected, touched up, covered by another technician. Several layers of different pigments create a more complex laser response, and one that's harder to predict.
- Skin condition and immune function. The speed at which the body clears broken-down pigment particles varies from person to person. Healthy, physically active, well-hydrated people often see faster progress.
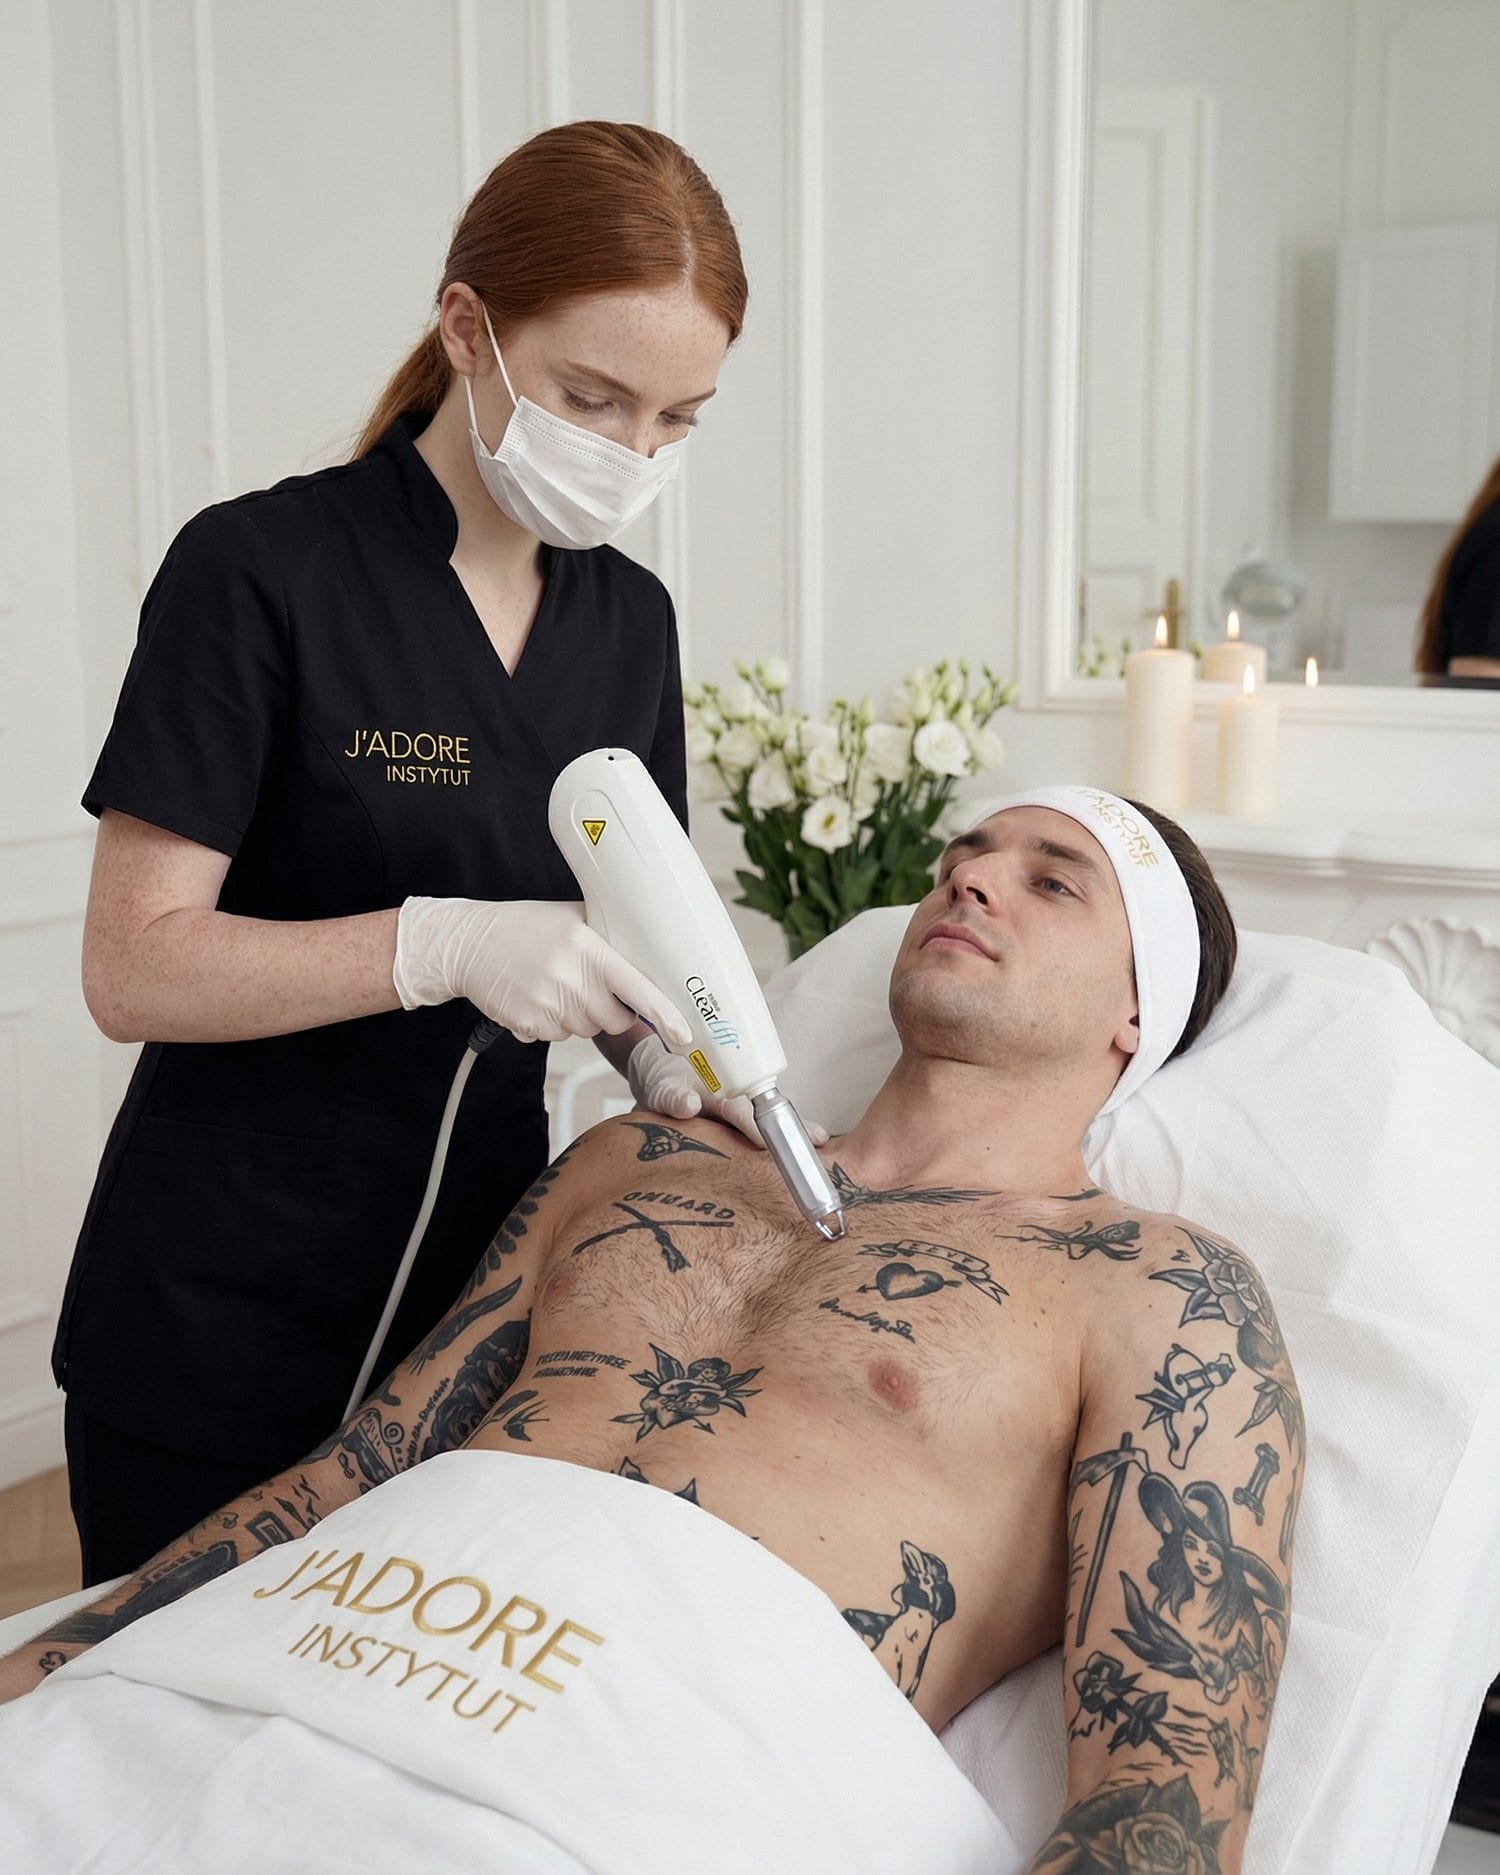
What preparation and the process itself look like — step by step
A laser session for PMU doesn't start with the first pulse — it starts with a conversation. The better we understand the pigment's condition, your skin's history and your expectations, the more precisely we can plan the whole process. Here's what the standard path looks like.
- 01
Consultation and PMU assessment
The specialist assesses the colour, intensity, age and condition of the pigment, and asks about your treatment history, medications and sensitivities. Based on this, we plan the goal — lightening or removal — the estimated number of sessions, and the laser protocol.
- 02
Patch test
A small trial session on a low-visibility part of the PMU area. It shows how the pigment responds to a specific laser and its settings — especially important with unknown or mixed pigments, PMU on the eyelids, and recent corrections.
- 03
First sessions — working the surface layers
Laser breaks apart the pigment fractions that lie higher and are more intense. The area may look darker or more intense right after treatment — this is a normal, short-lived effect before the body starts clearing the fragments. Small scabs may appear over the following days.
- 04
Gaps between sessions — essential biology
The lymphatic system needs time to clear the broken-down pigment particles. Shortening the gaps between sessions reduces the effect and increases the risk of skin irritation. Sessions are usually scheduled a few weeks apart.
- 05
Later sessions — working the deeper fractions
Once the surface layers of pigment are significantly reduced, the laser reaches deeper. Progress here can be slower and less dramatic between sessions — but it continues.
- 06
Assessing the result and deciding the next step
Once the lightening or removal result is satisfactory, the skin rests and heals. On the "lightening for a new design" path, once healing is complete, a consultation with a PMU technician can be planned.
When laser makes the most sense — and when to hold off
Laser is an effective tool for working on PMU — but it isn't always the first step. Sometimes it's worth checking whether the issue actually needs laser, or whether a correction with pigment is enough. Below is an outline of situations where laser tends to give good results, and others that call for a more cautious approach.
- PMU that has changed colour (for example, brows that have turned grey-green or reddish) — laser can selectively target the pigment fractions responsible for that tone, before a new design is set in the desired colour.
- PMU with an uneven shape — when correction with pigment alone isn't possible or isn't enough, laser can "erase" excess fragments and redraw a clean edge.
- PMU applied multiple times by different technicians — often the only way to reset the area before a new design.
- PMU applied several years ago — the pigment is already partly reduced naturally, which can speed up the laser response.