Where these marks come from — a short lesson in physiology
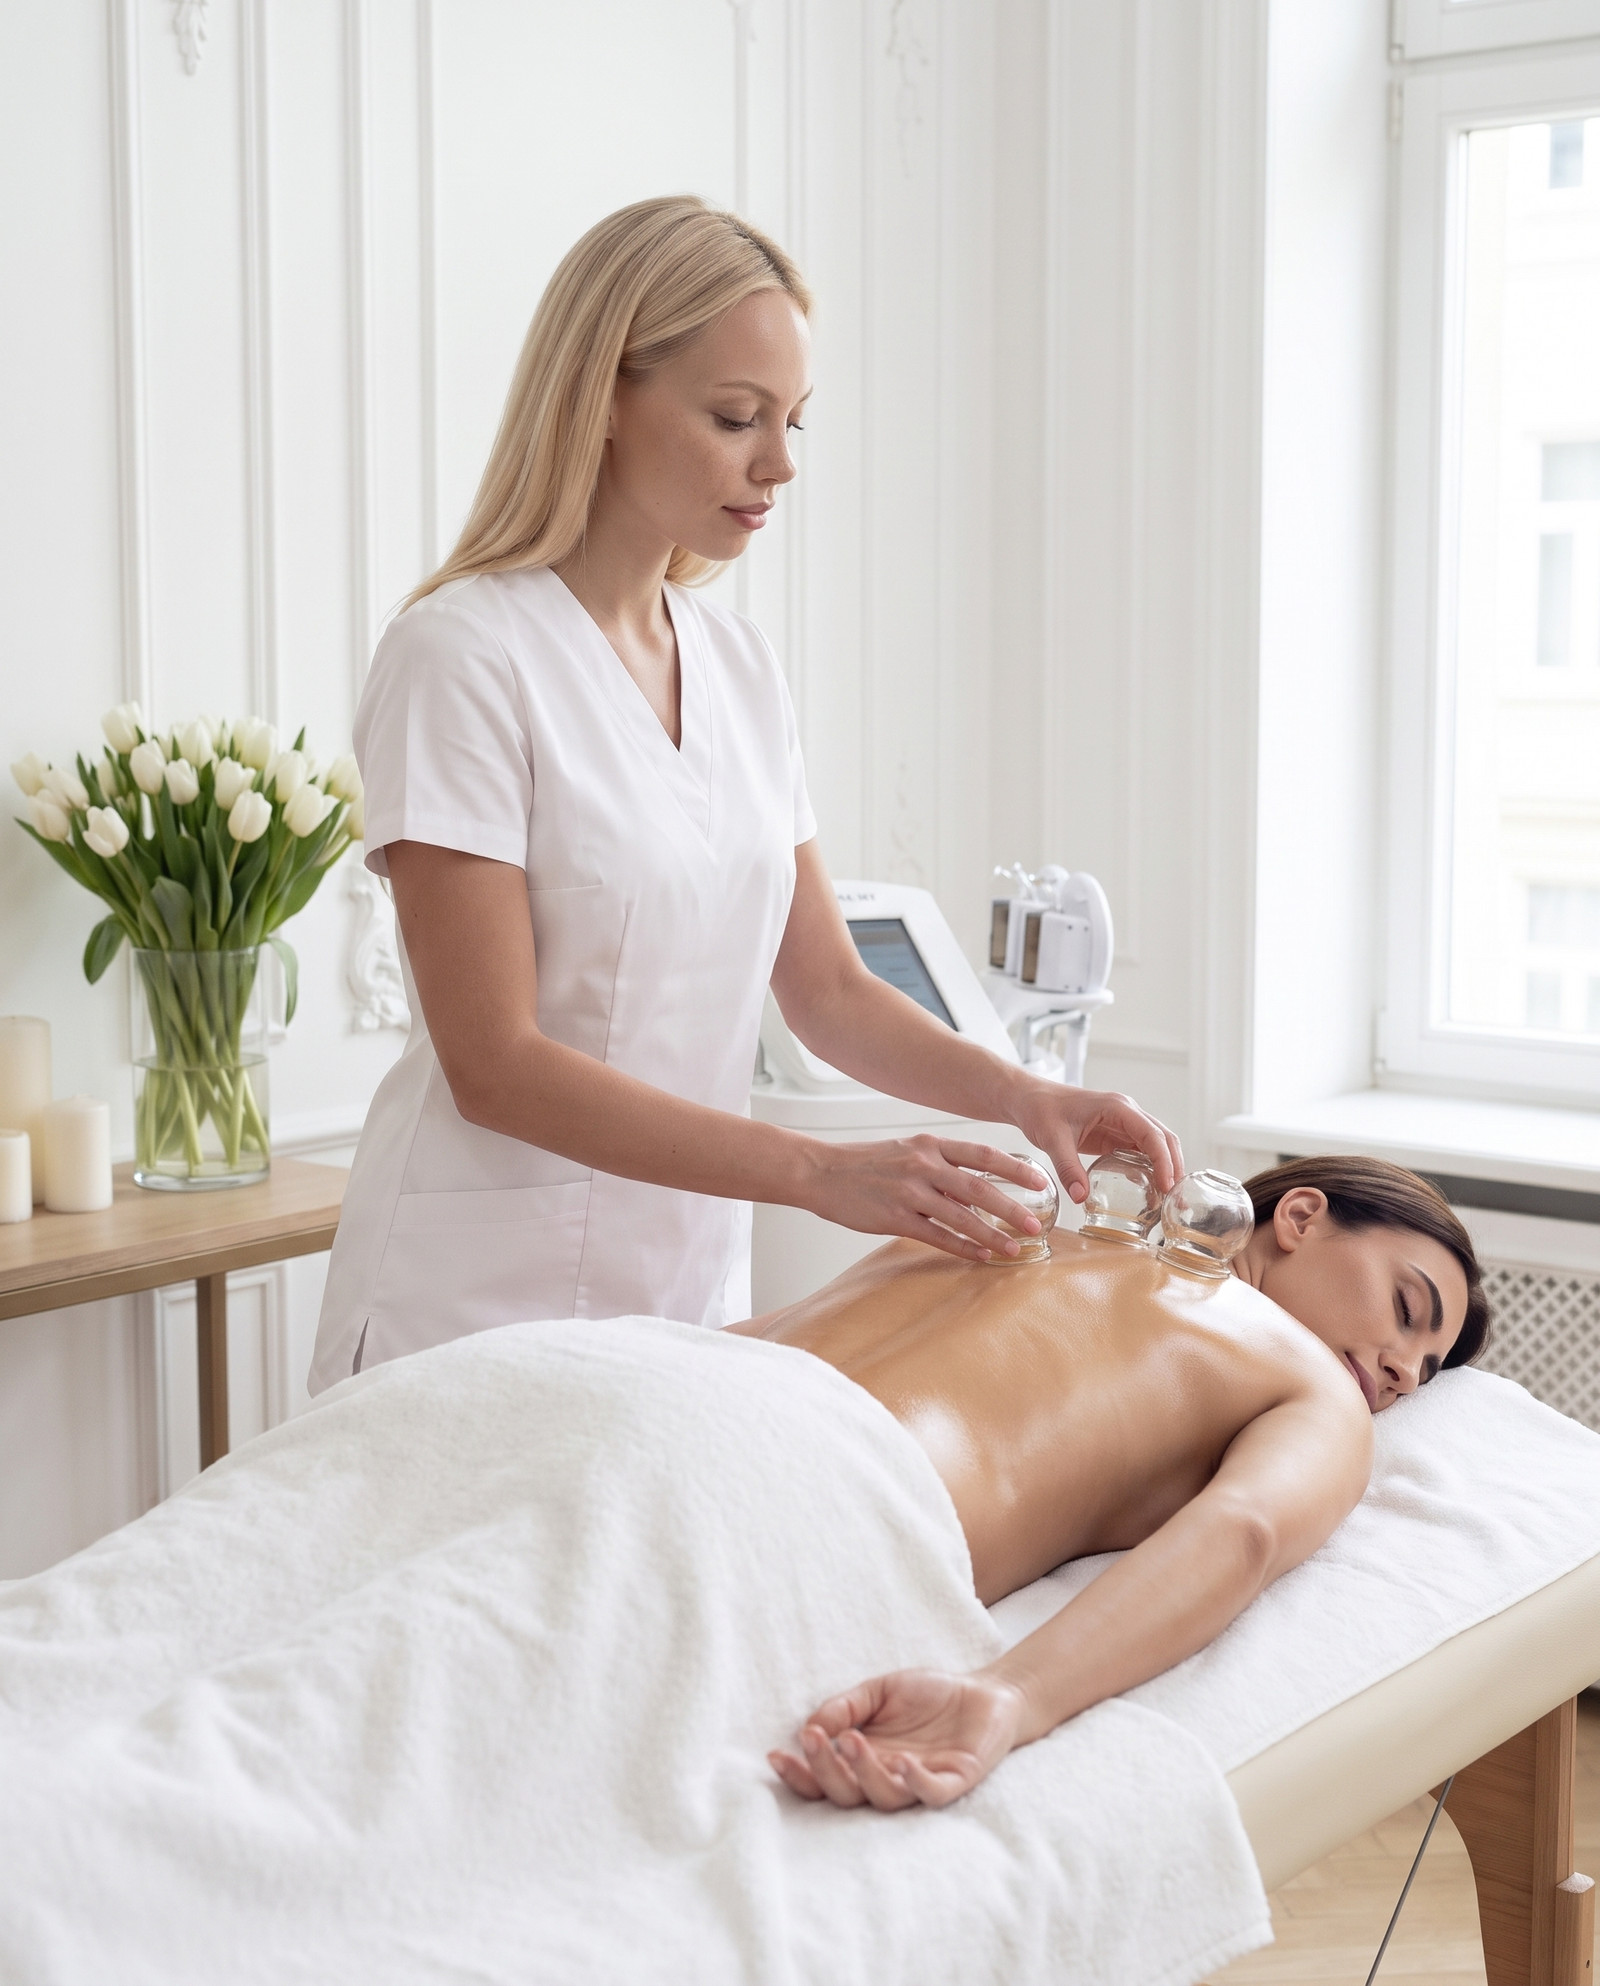
Cupping works through negative pressure, drawing tissue upward and stretching the skin and the layers beneath it. This mechanical action breaks up microcirculation congestion, releases fascial tension and activates lymphatic flow. But with stronger suction or longer contact time, something else can happen: tiny capillaries — with very thin walls — may develop localised micro-ruptures. Blood leaks into the surrounding tissue and creates coloured patches. That's what you see as a "bruise".
This distinction matters. Trauma compresses and damages. Cupping's negative pressure stretches and activates — it stimulates circulation, lymphatic drainage and fibroblasts (the cells responsible for collagen production). The marks are a side effect of this process, not its cost, and not a mistake.
Six myths about marks after cupping
Myth 1: "These are bruises — something went wrong." This is the most common fear — and the biggest misunderstanding. A bruise from trauma results from tissue damage. Cupping doesn't strike, crush or cut. Marks after cupping are a local vascular response to negative pressure — petechiae that fade on their own and leave no lasting trace on the tissue. A correctly performed cupping session can leave marks with no "error" on the therapist's part.
Myth 2: "The more intense the mark, the more damage." The intensity of the colouring says nothing about damage — it reflects the condition of the microcirculation and tissue density in that area. Someone with lymphatic congestion, fascial tension or weaker vascular supply in a given region will show darker marks. Not because "something went wrong" — because that tissue needed the stimulus more and responded to it more strongly.
Myth 3: "Marks mean poor technique or too much suction." Technique and settings do matter — holding the cup too long in one spot does intensify the reaction. But even with correct technique, marks can appear in people with sensitive vessels, those taking certain medications, or those simply prone to petechiae. Meanwhile, marks fading after subsequent sessions is a good sign: it means circulation and vessel elasticity are gradually improving.
Myth 4: "Cupping marks hurt like bruises." A real bruise from trauma hurts under pressure — because the tissue is damaged and the area is inflamed. Marks after cupping are pain-free or only mildly tender to the touch for most people, and mainly during the first 24 hours. If you feel intense pain after the treatment, or the mark is hot and swollen, that's a signal to speak with your therapist — not a standard effect.
Myth 5: "Cupping marks stick around as long as normal bruises." An average bruise from trauma takes 1–2 weeks to fade. Marks after cupping — for most people — fade within 3–7 days, sometimes faster for those with well-functioning circulation. What's more, this time often shortens with subsequent sessions, as tissue becomes better supplied with blood and more elastic.
Myth 6: "If I have marks, I shouldn't have the treatment again." This is the opposite of good practice. Marks aren't a contraindication for another session — provided that the previous marks have faded or largely cleared. The gaps between sessions exist precisely so tissue can fully recover and reabsorb the released blood. Cancelling upcoming visits because of marks from the last one is the most common reason people never see results — because they interrupt the process halfway through.
What colour and fading time tell you about your tissue
Not all marks are the same — and their appearance is one of the most useful diagnostic tools in cupping therapy. Pink or red circles right after the treatment are a vascular response without petechiae — the vessels react to negative pressure, but no micro-ruptures occur. Darker, red-purple marks are petechiae: blood has escaped the vessel into the surrounding tissue. Intensely maroon or almost black marks show a clear concentration of petechiae, which for many people signals significant congestion in the tissue or notably reduced vessel elasticity in that area.
Cupping mark
Response to negative pressure
- Round shape — matches the cup head
- Appears immediately after the treatment or within an hour
- Usually fades within 3–7 days
- Tissue pain-free or mildly tender
- Often fainter or absent after subsequent sessions
Trauma bruise
Result of mechanical injury
- Irregular shape — depends on point of impact
- Appears after an impact, pressure or fall
- Usually fades within 10–14 days
- Painful under pressure, especially in the first few days
- Each new injury produces an equally intense effect
The time it takes for marks to fade is a good indicator of regeneration speed and circulatory efficiency in that area. In people who use cupping regularly, this time often shortens gradually — from seven days down to two or three. Not because the cupping becomes less intense, but because microcirculation and lymphatic drainage genuinely improve.
How to prepare for the treatment to reduce marks
The intensity of marks after cupping can be partly reduced through proper preparation — and there are a few practical rules rarely mentioned before a first session.
- 01
Hydration
Well-hydrated tissue is more elastic, and microcirculation works more efficiently. Drink enough water on the day before your treatment — one of the simplest factors that genuinely makes a difference.
- 02
Avoid alcohol before the treatment
Alcohol dilates blood vessels and increases their permeability — it can intensify the vascular response to negative pressure. A day or two before your session is a good time to abstain.
- 03
Check your medications and supplements
Certain medications and supplements (including ibuprofen, aspirin, high-dose omega-3, vitamin E) reduce blood clotting and can intensify petechiae. If you take any of these, let your therapist know before the treatment.
- 04
Don't pick at the marks
Marks after cupping reabsorb on their own. Massaging, rubbing or any intense "squeezing" doesn't speed up the process — it can only irritate the skin.
- 05
After the treatment — movement, not lying still
Moderate movement (a walk, stretching) after your session supports lymphatic drainage and can speed up the reabsorption of marks. Intense exercise right after the treatment does not help.
Marks and results — what one tells you about the other
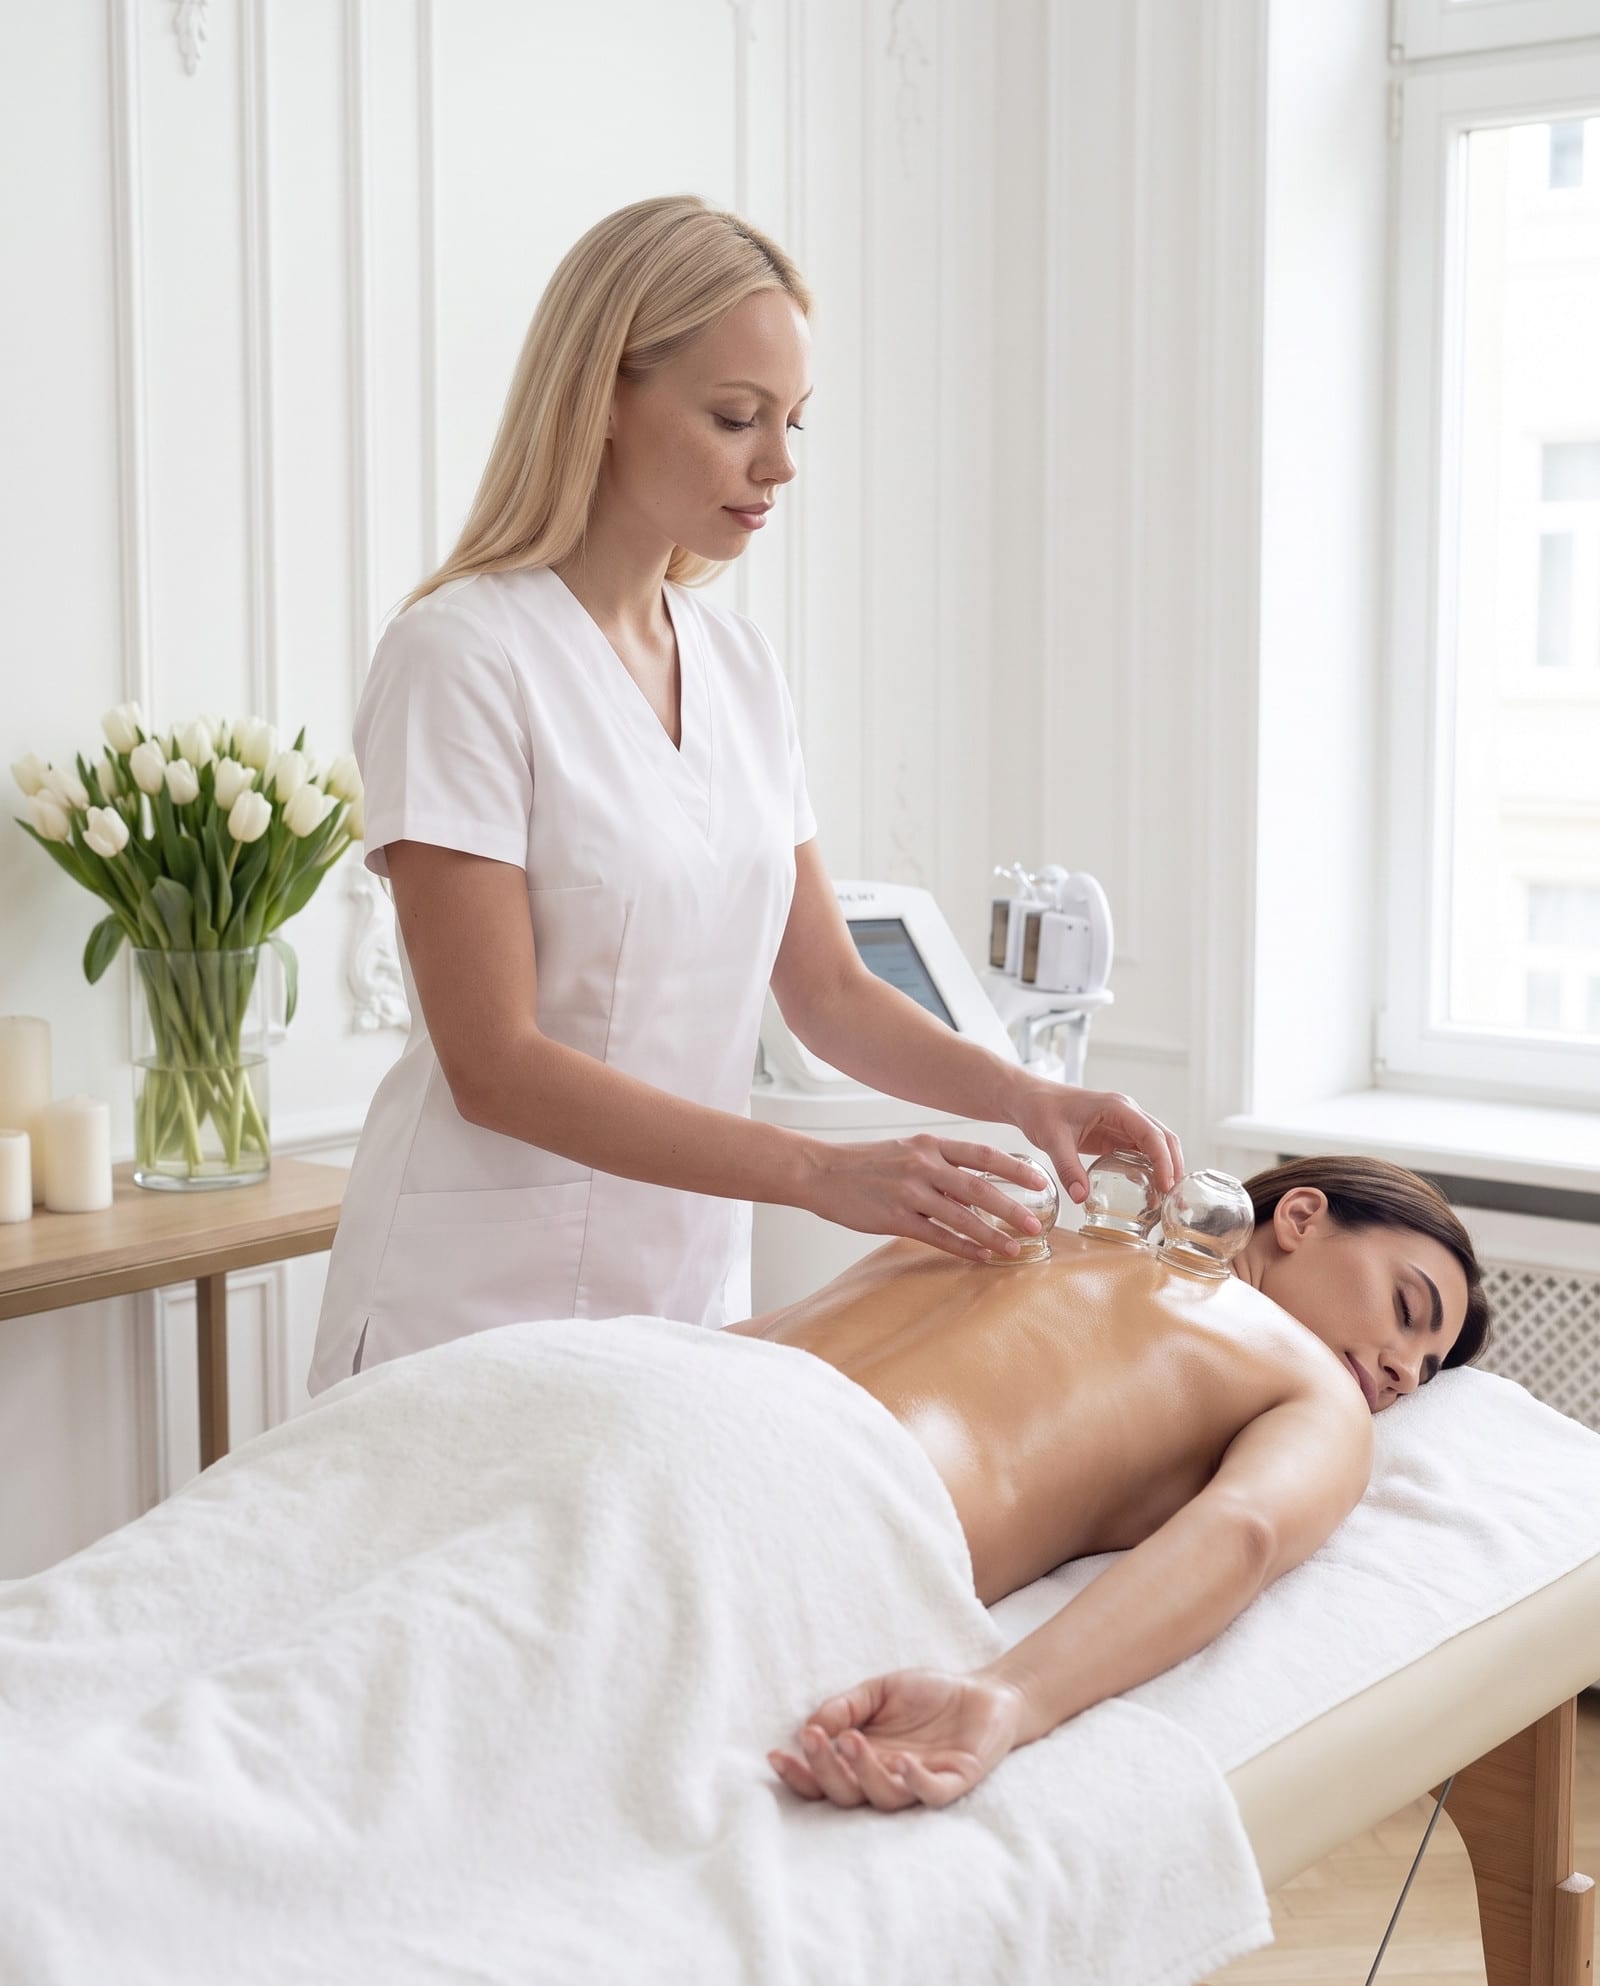
One of the most common misconceptions is this: the darker the marks, the better the results. This isn't true — and it's worth debunking once and for all. Marks indicate a vascular response to negative pressure, not the strength of the treatment's effect on fat tissue, fascia or cellulite. You can have intense colouring with modest results — and, conversely, minimal marks with a very good outcome.
The effectiveness of cupping depends on movement technique (gliding cups, not static ones), contact time, session frequency and individual tissue response. The colour of the circles after treatment is a diagnostic signal, not a measure of effectiveness. A therapist who "presses harder just to leave marks" is confusing the means with the goal.
When to choose cupping, when another treatment — and what to combine it with
Cupping therapy works brilliantly where the priority is improving microcirculation, releasing fascial tension, lymphatic drainage and working on skin texture — cellulite, tension in the lower body, overall skin vitality. It isn't a treatment for fat reduction in the sense of lipolysis — and this is another point where myths tend to build up. Combining methods correctly makes a real difference.
Manual lymphatic drainage
Ideal to perform before or after cupping — manual drainage prepares the lymphatic system and can speed up the reabsorption of marks after the session.
Endermology / LPG
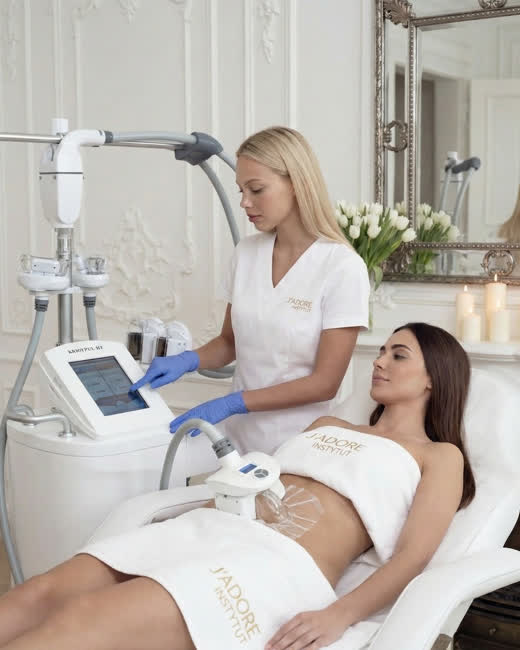
Mechanical massage with controlled suction — more precise control of intensity, and no marks thanks to the roller glove. Suitable for people whose vascular response to standard cupping is too intense.
Radiofrequency body treatments
These work on deeper tissue remodelling — combining them with cupping can enhance results by improving blood supply in the treated area.
Body peel + cupping
Exfoliating the skin before a session improves contact and glide for the cups — but perform the peel at least 24 hours in advance, never right before the treatment.